Greetings, fellow adventurers in the archery world! If you’ve ever wondered how to shoot a recurve bow with precision and finesse, you’ve just set foot at the right archery range.
We’re here to unravel the secrets of shooting a recurve bow, from mastering its components and mechanics to perfecting your stance and grip, honing your aiming techniques, and conquering challenges with advanced tips.
So, let’s not keep that arrow on the string any longer; it’s time to aim for excellence and discover the art of shooting a recurve bow, one keyword-guided step at a time!
How to Shoot a Recurve Bow: A Step-by-Step Guide
Welcome to the fascinating world of recurve bows, where a stick and string transform into your trusty arrow-launching sidekick! Your bow’s like a puzzle, and each piece has a role: the limbs provide power, the riser’s the heart, and the string’s the soul.
When you draw, your limbs store energy like a coiled spring, ready to release with a satisfying thwack. And that curve in the limbs? This is the recurve, baby, accelerating arrows like a turbocharger!
Your Body Mechanics are Critical While Shooting a Recurve Bow
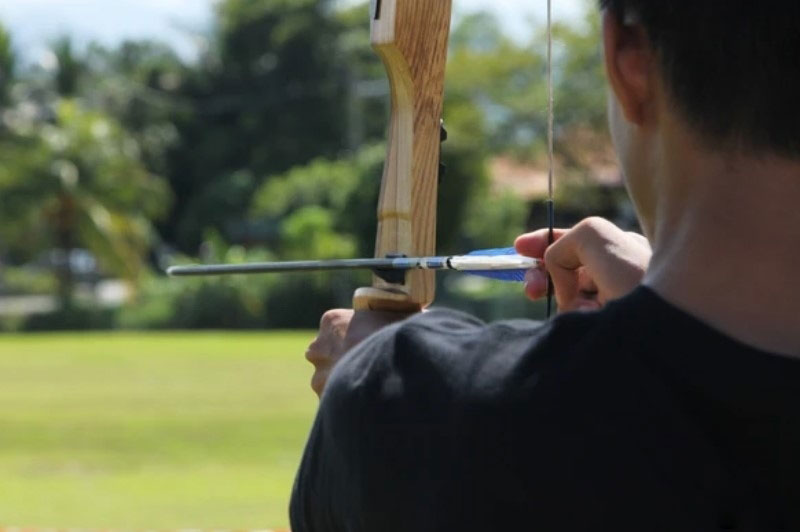
Body mechanics are critical while shooting a recurve bow. You want to keep your elbow locked in place and pointed downward during the shot so that it doesn’t move around too much.
This will also help with consistency and accuracy. Your bow arm should be relaxed but not hanging loosely when you’re not pulling on it; otherwise, it could affect how you aim or even cause injury if something goes wrong during the draw process.
Keep Your Elbow Locked in Place and Pointed Downward During The Shot
A lot of people have the habit of letting their elbow move during the shot. This can be a big problem because it makes it more difficult to control your bow arm and will negatively affect your aim.
To prevent this from happening, keep your elbow locked in place and pointed downward during the shot. Your bow arm should not move forward or backward during the shot, nor side-to-side (left or right).
Perfecting Your Stance and Grip: A Foundation for Accuracy
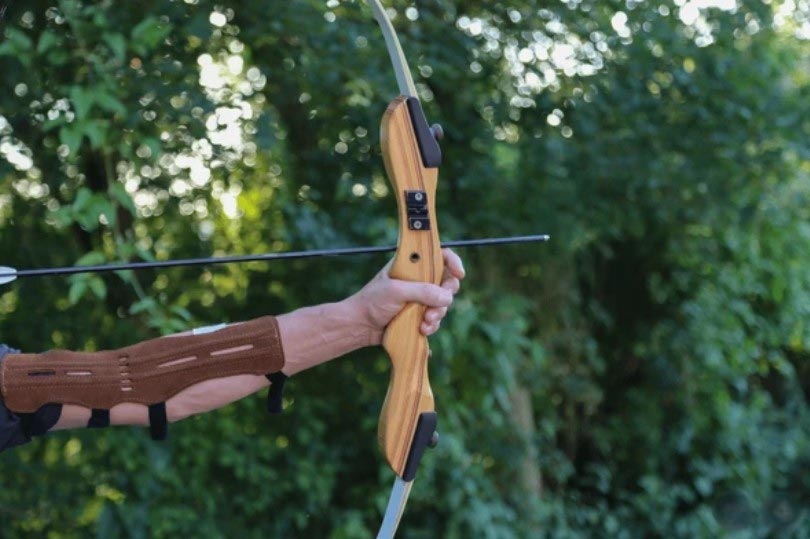
Alright, archery apprentice, it’s time to strike your superhero pose. Stance is your archery bedrock—stand tall, not too rigid, and not too floppy. Imagine you’re hugging an invisible tree—that’s your grip, snug but not suffocating.
You’re not wrangling a crocodile; you’re caressing the bow. Grip too tight? Say hello to shaky shots. Too loose? Bon voyage, accuracy! Find that sweet spot, and you’re ready to rock that target.
Arrow Launch: 25 lbs. Draw for 60 lbs. Pull
The draw weight of your bow is the amount of force you need to pull back the string before releasing an arrow.
For example, if your bow has a draw weight measurement of 50 pounds and you’re using an arrow with a maximum pull weight of 60 pounds, then this means that when you fire your weapon from its fully cocked position,
(i.e., when it’s ready for firing), there will still be 10 pounds left in reserve—enough energy stored up so that if something happens during firing (like a poor shot or unexpected gust of wind) and causes some sort of misfire or malfunctioning motion on your part, then all that excess energy can be released without harming either yourself or anyone else around you.
This is why it’s important to consider not only how much draw weight capacity each individual piece has but also how well they complement each other within their respective systems.
If one component doesn’t fit properly into another’s role within said system, then things could go very wrong indeed!
Use 7-10-14-20 Finger Release Guidelines or 1-2-3-4 Release Aids to Aim More Accurately.
When you’re aiming, use a release aid to help steady the arrow and aim it at your target. In this case, we recommend using three fingers: the middle finger for pulling back on the string and the index finger for pushing forward (with your thumb holding onto the arrow).
Your ring finger and pinky should be used to stabilize the bow in place so that no movement occurs during shooting.
This method allows for greater accuracy than trying to shoot without any assistance at all. It also gives beginners confidence when aiming because they know they won’t accidentally drop their weapon in mid-air!
Aiming Techniques: Finding Your Bullseye
Bulls-eye hunting? Let’s talk aiming techniques with your archery GPS. We’ve got the gap method: picture placing your arrow on the target like a bullseye sticker. Then there’s instinctive shooting, where you channel your inner Hawkeye.
Sight-aiming is like having a sniper scope on your bow, but remember, you’re aiming the sight at the target, not the target itself. Choose your aiming adventure and let the arrows fly!
Advanced Tips: Wind Compensation and Shooting in Different Conditions
Wind is the archer’s mischievous friend—it’s like that unexpected plot twist in your favorite movie. You’ll learn to read the wind like a wizard, adjusting your aim and release.
Shooting in the rain? Protect your bow like it’s a delicate flower, and don’t forget to waterproof your arrows—soggy feathers won’t fly.
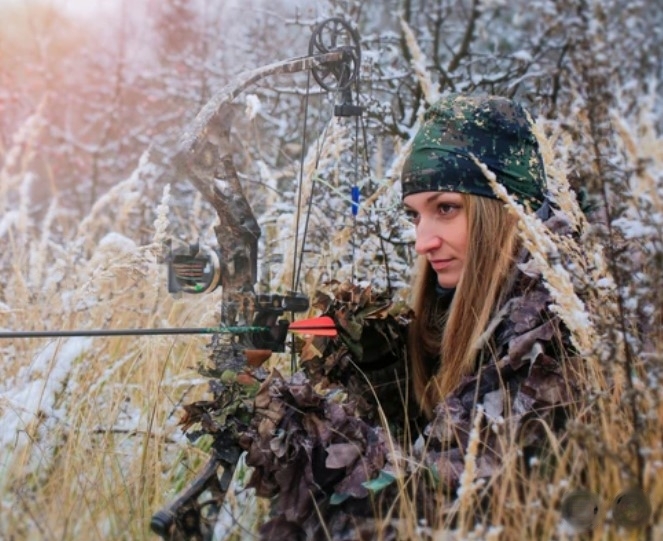
Cold weather? Layers, archer, layers! Your bow might be chilled, but your fingers shouldn’t be.
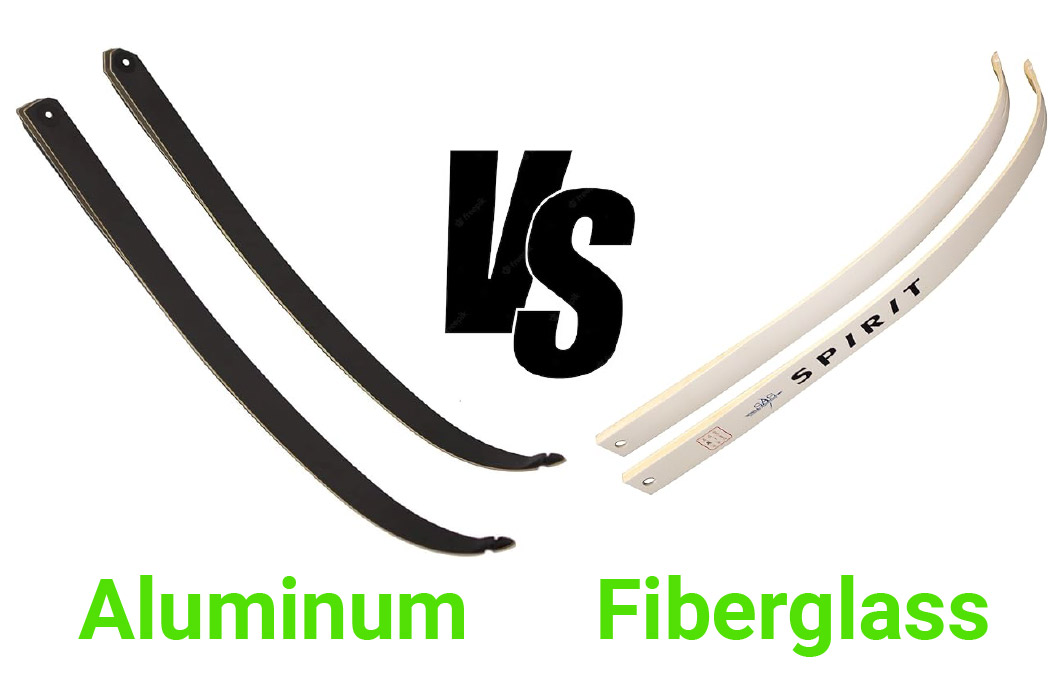
Starting with the Right Equipment
Selecting the right bow is crucial for your archery journey. When you’re just starting out or aiming to improve your skills, it’s essential to begin with a lightweight recurve bow.
Using a bow that’s too heavy can lead to poor form and bad shooting habits, so make sure to choose a bow that’s appropriate for your skill level.
Essential Archery Gear
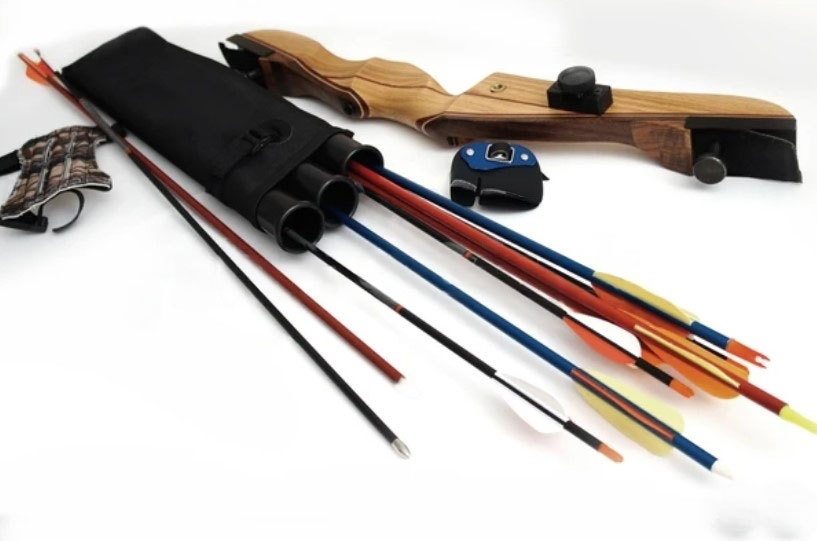
To start recurve bow shooting, you’ll need some top accessories for your bow. This includes arrows, a finger tab, an arm guard, safety glasses, and a release aid.
Investing in good-quality equipment will not only make your practice sessions more enjoyable but also help you improve your shooting skills.
Developing Proper Form and Technique
To become a better and more consistent archer, it’s vital to develop proper form. Good form means that when you come to full draw, everything is lined up perfectly with the target, including your arrow, drawing arm, and body structure. Achieving this requires something called back tension.
Understanding back tension
Back tension can be explained by imagining someone’s hand on the back of your elbow while at full draw. Try to push that imaginary hand back without increasing your draw length.
This brings everything into alignment and allows you to relax your forearm and wrist, using your back muscles to power the shot.
Aiming Techniques
There are different aiming techniques in traditional archery, such as instinctive shooting, which is similar to throwing a baseball without aiming.
If you’re looking for a more consistent method, you can try a hybrid between Howard Hill’s split-vision shooting and Byron Ferguson’s style.
With this method, focus on the target while seeing the arrow tip in your peripheral vision. Use the arrow tip to line up left and right, while the ups and downs are somewhat instinctive. Through repetition and practice, you’ll learn how far below the target your arrow tip needs to be.
When aiming, it’s crucial to have the nock of the arrow directly underneath your pupil. This ensures proper alignment and accuracy.
If your bow and arrow setup is tuned properly, you should hit your target with consistent left and right accuracy.
Drawing and Releasing the Arrow
Start your draw with a relaxed forearm and wrist, drawing with your back muscles as much as possible. Rotate your elbow back, find your anchor point, and settle down on it.
Push your bow shoulder towards the target and release the arrow. If your bow hand jumps towards the target upon release, you have proper alignment. If not, work on your form.
Preparing for Practice and Competition
Safety Measures
Before you start shooting a recurve bow, make sure you are following all the safety measures. Wear protective eyewear and an arm guard to protect yourself from any potential injuries.
Make sure the area around you is clear of any obstacles, and keep other people at a safe distance.
Checking your equipment
Before you shoot, make sure your bow and arrows are functioning correctly. Inspect the bowstring for any signs of wear or damage, and check that the arrow is securely attached to the bowstring.
Setting up the target
Find a suitable place for your target, such as a hay bale or an archery range. Make sure the area around the target is clear of any obstacles and that the target itself is sturdy enough to handle your arrows.
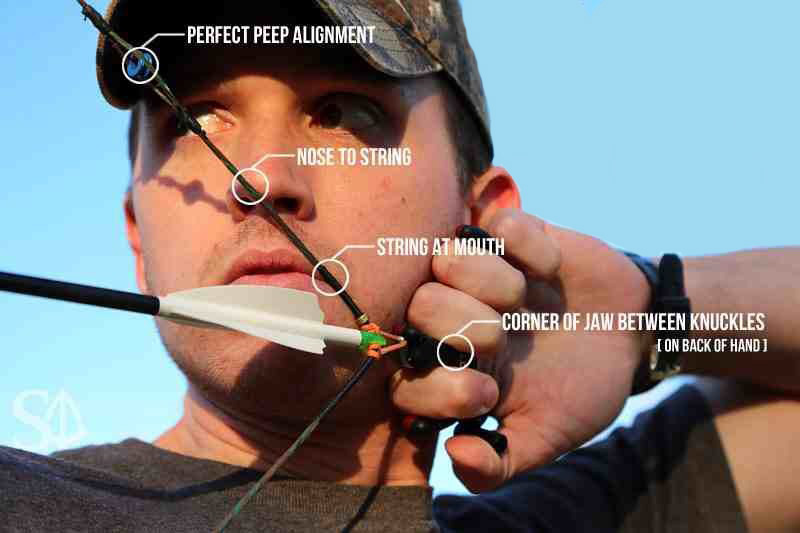
Anchor Point
Make sure your bow arm is always anchored in the same place. This will help you be more accurate and consistent. You can accomplish this by placing your index finger on the corner of your mouth and gently pulling the bowstring back toward your face.
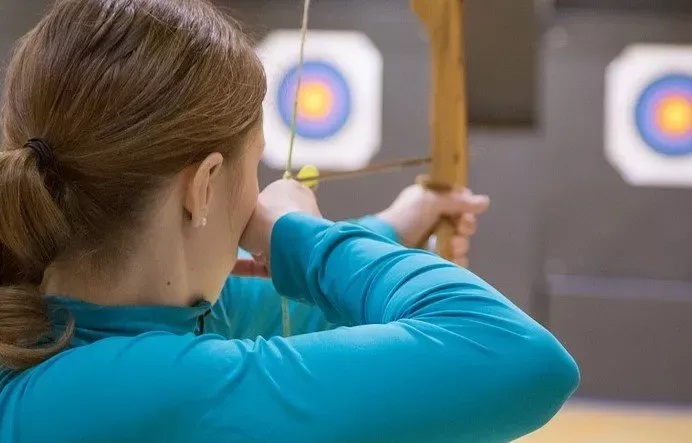
Aiming Posture
For perfect aim, you need to maintain an exact posture. Stand with your feet shoulder-width apart and keep your chest up. Bend the arm that is holding the bow and keep your elbow slightly bent.
Drawing the String
Let the string slide through your fingers until it reaches your anchor point. Hold it there for a few seconds before slowly releasing the arrow.
Follow-through
Once you have released the arrow, continue following through with your arm and shoulder until you feel the vibration of the string. This will help you determine whether or not you have made a good shot.
Choosing Arrows for Your Recurve Bow
Selecting arrows for a recurve bow matters. Options include classic wooden arrows for a traditional touch. These are heavier for accuracy.
Carbon arrows offer modern speed and precision. They’re consistent in spine weight. Affordable aluminum arrows are an option too.
Consider arrow length: 1-2 inches longer than your draw length is recommended. This avoids clearance issues and improves form, ensuring safety and accuracy.
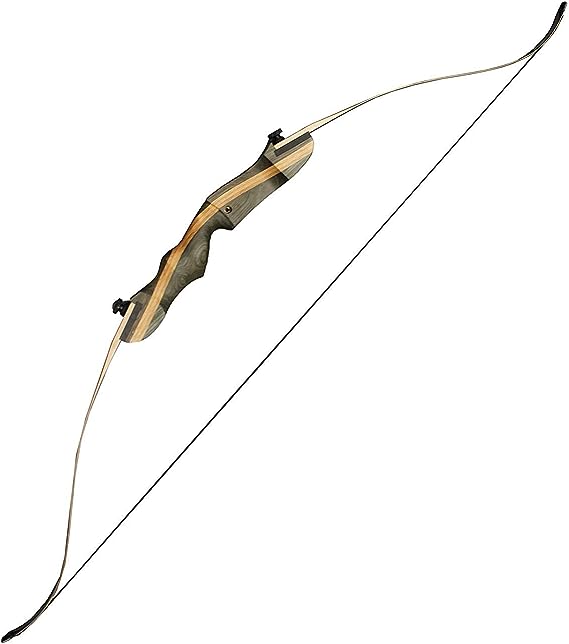
Choosing the Right Bow Size for Target Shooting
Selecting the right bow size depends on your preferences, body size, and style. Generally, longer bows offer stability and forgiveness, aiding accuracy.
Choose a bow length of at least your draw length plus 40 inches for proper clearance and comfort.
Try different sizes to find your perfect fit. Consider body size and shooting style too. A comfortable bow enhances your shooting experience and accuracy.
Choosing Draw Weight for Target Shooting
For beginners and those with less strength, start with 30–40 lbs of draw weight to focus on form. Gradually increase as you gain strength for more power and accuracy.
A range of 40–60 pounds suits most adults for target shooting. Consult experts for personalized advice. Consider target type: larger targets need less draw weight, while smaller or distant ones require more.
Finding the Right Anchor Point for Recurve Bow Shooting
An anchor point is crucial for consistent shooting. A common point is the mouth’s corner. Nock an arrow, draw comfortably to this point, align with your dominant eye, and adjust if needed.
Some archers choose cheekbone or chin anchors. Practice this anchor for muscle memory alongside grip, stance, and release. Coaching and practice refine technique for accurate shooting.
Conclusion
Congratulations! You’ve embarked on an exciting journey into the world of recurve bow shooting! By mastering the essential techniques covered in this guide, you’re well on your way to learning how to shoot a recurve bow like a pro. From stance to grip, anchor points to draw and release, each element contributes to your accuracy and consistency in shooting a recurve bow.
Practice is your ultimate ally when learning how to shoot a recurve bow. Dedicate time to hone your skills, analyze your shots, and continuously fine-tune your technique. Don’t let missed opportunities demotivate you; instead, use them as learning experiences on your path to improvement.
Now, let’s wrap our fingers around that bowstring, align our sights, and shoot for success in the captivating world of recurve bow archery. Happy shooting!”
Some common FAQs About How to Shoot a Recurve Bow
How do I choose the right recurve bow?
Consider your skill level, draw weight, and draw length. Beginners should start with a lightweight bow.
How do I maintain my recurve bow?
Inspect the bowstring, check the limbs, keep the bow clean and dry, and unstring it when not in use.
How can I improve my accuracy?
Develop proper form, use a consistent anchor point, and practice regularly. A release aid can also help.
How often should I practice?
Aim to practice a few times a week, gradually increasing the frequency and duration as you improve.
Can I participate in archery competitions?
Yes, archery clubs and organizations host a variety of competitions and tournaments using recurve bows.
Can I compete in archery tournaments with a recurve bow?
Absolutely! Recurve bows are commonly used in competitive archery tournaments.