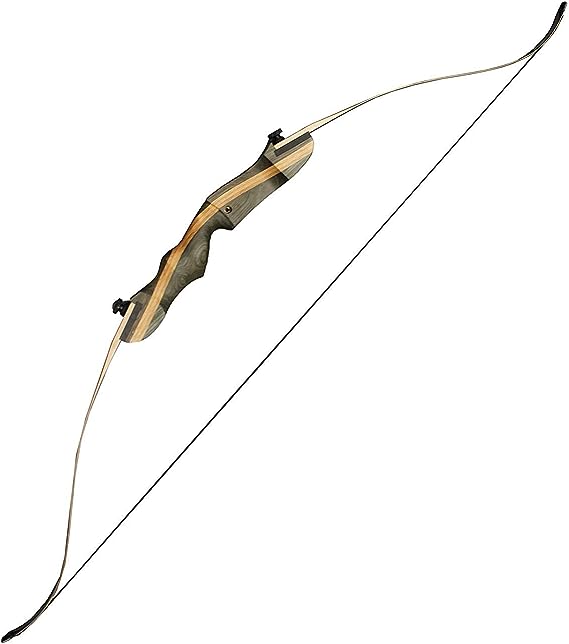
Are you ready to make your own recurve bow from scratch and go on an exciting DIY adventure? This step-by-step guide will show you how to make your own bow, whether you’re an experienced shooter or just want to try it out.
Prepare to let out your inner artist and make a strong recurve bow by hand in the comfort of your own home.
What You’ll Need
Before we get into it, if you want to know about beginners recurve bows, check it out.
To make a recurve bow, let’s gather the items and tools we’ll need:
Materials:
- Wood: You’ll need a piece of wood for the bow’s limbs. Hickory, oak, or maple are excellent choices due to their strength and flexibility.
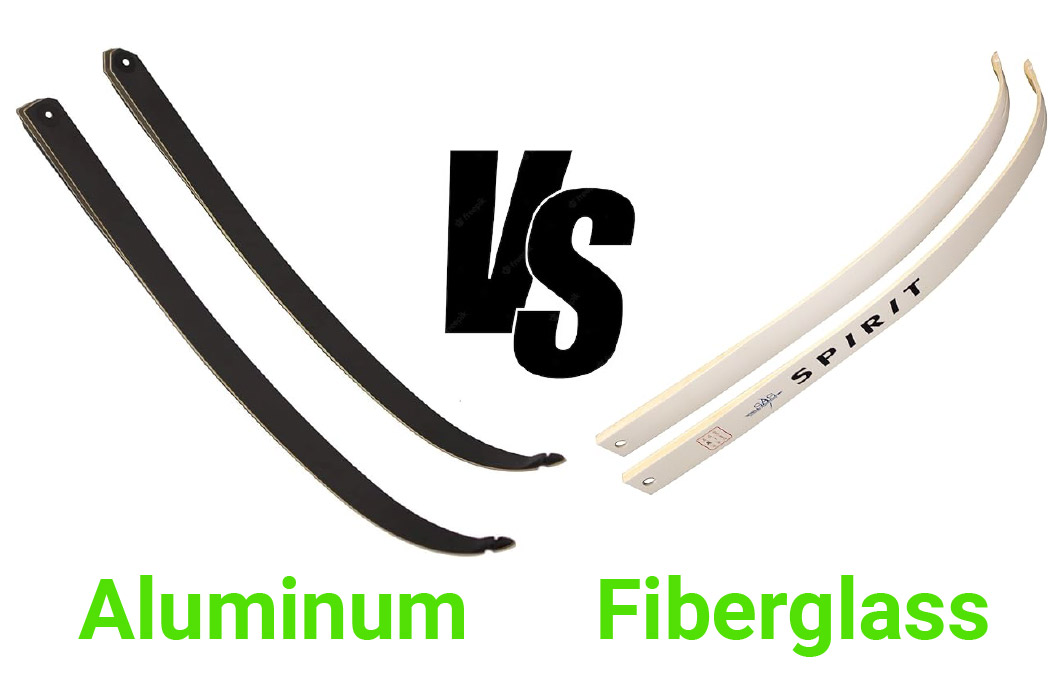
- Fiberglass: This will reinforce your bow’s limbs, adding durability and power.
- Wood glue is used to securely bond your materials together.
- String: Nylon or Dacron strings are ideal for a recurve bow.
- Sandpaper: Various grits for smoothing and shaping
- Tiller stick: A tool to help you check the bow’s draw weight and balance.
- Ruler or measuring tape: for precise measurements
- Saw: To cut your wood to the desired length
- Rasp and files: for shaping and smoothing
- Clamps: To hold pieces together while they dry.
- Safety gear: Safety goggles and gloves are a must to protect yourself during the crafting process.
Tools:
- Workbench: A sturdy work surface is essential.
- Gloves: to protect your hands
- Safety goggles: for eye protection
- Hacksaw: for cutting the wood.
- Rasp and files: for shaping and smoothing
- Sandpaper: various grits for finishing
- Woodworking clamps: to hold pieces in place while they dry
Your Complete Guide to How to Make a Recurve Bow
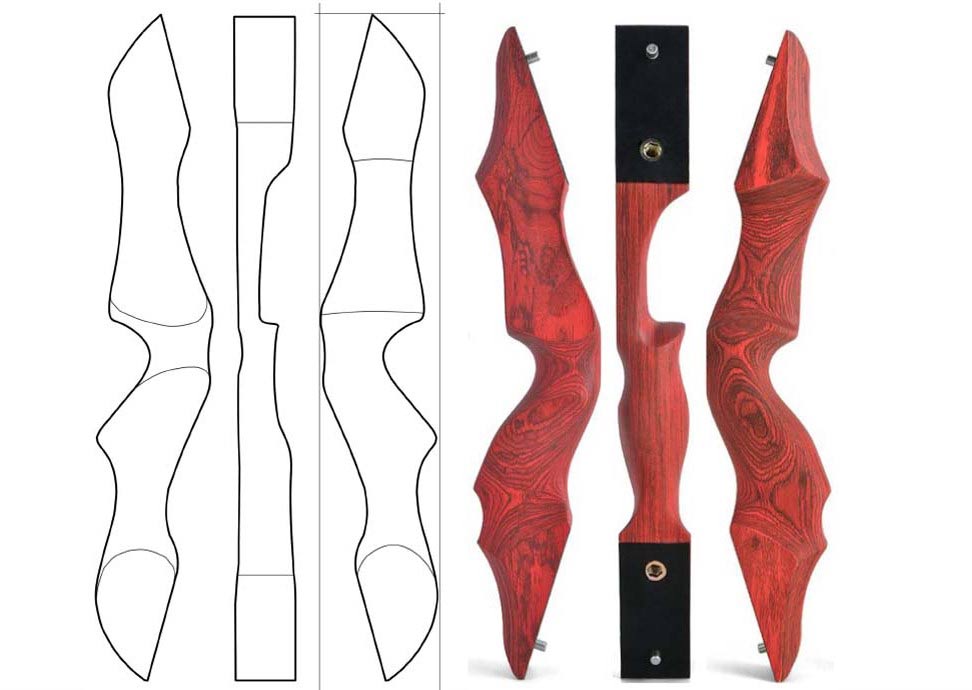
Step 1: Choose Your Design
The first thing you have to do when making a recurve bow is decide on a design. You can find many different styles online, and each one has its own unique features.
Think about items like the length of the draw, the weight of the draw, and the type of wood you want to use. Once you’ve decided on a plan, draw it out on paper to use as a guide.
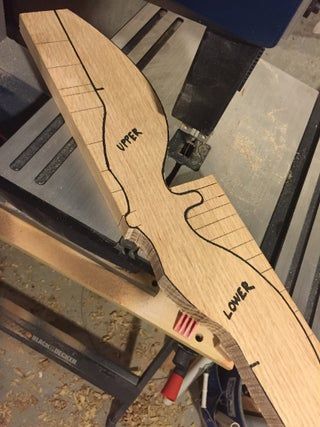
Step 2: Cut and Shape The Wood
Take your time cutting the wood to the length you want for your bow with your saw. Make sure your lengths are exact, as this will affect how well the bow works.
Then, using rasps, files, and sanding, start making your bow’s parts into the shape you want.
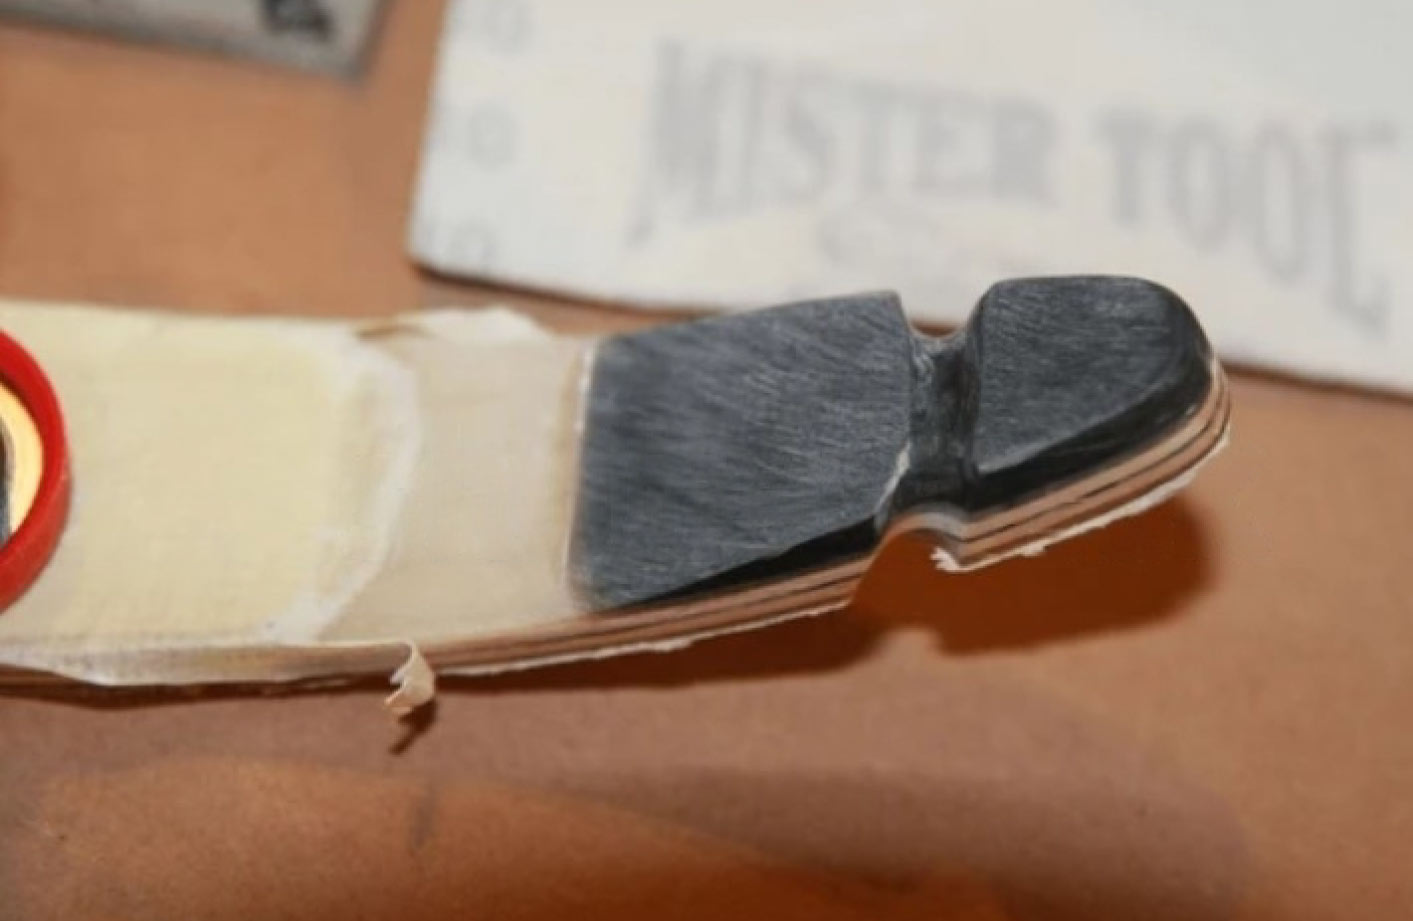
Step 3: Add Fiberglass
To give your bow’s parts more strength and make them stronger, you’ll need to glue on fiberglass. Both the wood and the fiberglass should be covered with wood glue, and then they should be carefully pressed together.
While the glue dries, use clamps to keep them in place. Make sure that the fiberglass goes all the way to the end of each limb.
Step 4: Create The Handle
Use rasps and tools to cut a handle out of the middle of your bow. When you shoot, this is where you’ll hold the bow. Make it easy to hold, but don’t do anything that will damage the bow’s structure.
Step 5: Check The Tiller
Using your tiller stick, check the bow’s draw weight and balance. Adjust the limbs if necessary to ensure an even draw. A balanced bow is crucial for accuracy and safety.
Step 6: Finish and String The Bow
Smooth out any rough edges with sandpaper and protect the wood with a finish of your choice.
Last, put a high-quality nylon or Dacron string on your bow. Make sure it’s strung right and that the brace is at the right height.
Step 7: Test and Fine-Tune
Now comes the fun part—testing your handmade recurve bow! Head to a safe and designated archery range to test your creation.
Pay close attention to its performance, draw weight, and accuracy. If needed, make small adjustments to achieve your desired results.
The Key to Making a Perfect Recurve Bow at Home is to be Patient
When making a recurve bow at home, you need to be patient the whole time. If you’re in a hurry, you might make mistakes that could affect how well your end result works. Also, take your time sanding to make sure the finish is smooth and to avoid splintering or rough edges.
Check online for information on the methods and tools you’ll need to make a good bow. There are a lot of groups and guides where experienced makers share what they know and how to do things better. Use these tools to improve your skills before you start this fun DIY project.
Be Patient
When making a recurve bow at home, you need to be patient. Don’t rush through the process; stop when you need to. It’s important to know that you might make mistakes along the way, but with patience, you can work through them and achieve a beautiful end result.
When You Sand, Take Your Time
When you make a recurve bow at home, sanding is one of the most important steps to getting the best finish. Here are some things to remember when you Sand:
For the best results, start with coarse-grit sandpaper and work your way up to smaller grits.
If you want more even results, use a polishing block instead of your hands.
Make sure to sand both sides evenly, paying close attention to any flaws or rough spots.
By taking your time and being careful when you sand, you can make sure that your homemade recurve bow looks good and works well. Don’t rush through this important step; it will pay off in the end!
Which Wood is Best for Recurve Bows?
For the best performance and longest life, a recurve bow must be made from the best wood. Yew wood is a popular choice because it is strong and uses energy efficiently. Osage orange wood is also popular because it is tough and doesn’t break easily when hit.
Bows can also be made with good performance by combining different kinds of wood. It’s important to use high-quality, well-aged wood, and the way the limbs are made makes a big difference in how well they play. The way it looks is also important, so choose a wood that fits your style.
What is The Best Way to Shape The Recurve Bow?
A heat gun or hairdryer can be used to heat the belly of a recurve bow so that it can be shaped. Apply slow, even pressure to bend the limbs toward the tips while keeping a smooth curve with a slight bend toward the belly.
Points of reference and numbers help you get the shape you want. Think about the draw weight to make sure you are comfortable and safe. Start with a smaller weight and go up as needed.
After making the bow, sand and finish it to make it easier to hold, safer, and look better. During the shaping process, you need to be patient and pay close attention to details.
What Techniques Should I Use to Sand and Finish The Bow?
To sand and finish a bow, you’ll need different sizes of sandpaper, a sanding block or soft sanding sponge, and wax or oil to seal the bow. Start with coarse sandpaper (80 or 100 grit) to get rid of flaws.
Always sand in the direction of the wood grain. Switch to finer sizes (220 or 320) and smooth the surface with a sanding block or sponge. Use a brush or a cloth, and follow the advice for drying and hardening time between coats.
Between coats, lightly sand with fine grit (400 or 600) for a smooth finish. Use several thin coats for better control and even coverage. Follow the instructions that came with the finish on how long to let the bow dry.
How Can I Make Sure My Recurve Bow is Durable?
1. Invest in a high-quality bow
The first step to ensuring the durability of your recurve bow is to invest in a high-quality one. Look for bows made from durable materials, such as hardwood or carbon fiber, and choose a reputable brand.
2. Store your bow properly
When you’re not using your bow, make sure to store it properly. This means keeping it in a cool, dry place away from direct sunlight and avoiding extreme temperatures or humidity.
3. Keep the bow clean
After each use, make sure to clean your bow. Use a soft cloth to wipe down the limbs and riser, and ensure that no dirt or debris has accumulated on the string.
4. Check the bow for damage
Regularly inspect your bow for any signs of damage, such as cracks, splinters, or warping. If you notice any issues, take your bow to a professional to have it repaired.
5. Use the bow properly
Finally, make sure to use your recurve bow properly. This means not over-drawing the bow, not dry-firing it, and avoiding any rough treatment or impacts that could damage the bow.
By following these tips, you can help ensure that your recurve bow remains durable and performs well for years to come.
How do I Adjust The String Tension of a Recurve Bow?
As a recurve bow owner, adjusting the string tension of your bow is an important skill to learn because it can greatly impact your accuracy and performance.
In this article, we will provide you with a step-by-step guide on how to adjust the string tension of your recurve bow.
Step 1: Determine the required tension
Before adjusting the string tension of your recurve bow, it is important to know the required tension for your specific bow model. This information can be found in the manufacturer’s manual or by contacting their customer service.
Step 2: Loosen the string
Using an Allen wrench, loosen the limb bolts on each limb of the bow. This will reduce the tension on the bowstring.
Step 3: Adjust the tension
To adjust the tension of the bowstring, you will need a bow stringer. Attach the stringer to the ends of the bow and pull the bowstring back towards the center of the bow. Adjust the string tension until it matches the required tension for your bow.
Step 4: Tighten the limb bolts
Once you have achieved the right string tension, tighten the limb bolts on each limb of the bow with the Allen wrench. Make sure that the bolts are tightened evenly on both sides of the bow.
Step 5: Check the string alignment
After adjusting the string tension, it is important to check the alignment of the bowstring with the limb tips. The string should be centered on the bow and not touch the limbs.
Conclusion
This 2023 How to Make a Recurve Bow guide makes it easy to make a recurve bow at home. Making a recurve bow at home is not only fun and satisfying, but it’s also a great way to learn about an old art.
Just keep in mind that practice makes perfect, so don’t give up if your first try isn’t perfect. With time and hard work, you’ll learn how to make bows and end up with a strong, hand-made recurve bow.
So, get ready to get your hands dirty, gather your materials, and let your imagination and skill shine as you start this fun DIY project to make your own recurve bow. Have fun making bows, and may all of your shots hit their goal!
How to Make a Recurve Bow: FAQs and Expert Answers
Can I make a recurve bow at home without any prior experience?
While it is possible to make a recurve bow at home, it is recommended that you have some prior experience and knowledge of woodworking and crafting.
Is it legal to make your own bow at home?
In most cases, it is legal to make your own bow at home for personal use. However, it’s important to check your local laws to ensure that there are no restrictions or regulations that apply in your area.
Can I use any type of wood for making a recurve bow?
While you can use various types of wood, it’s best to choose strong and flexible woods like hickory, oak, or maple for the bow’s limbs.
How long does it take to make a recurve bow at home?
The time it takes to complete a recurve bow depends on your skill level and the complexity of your chosen design. On average, it can take anywhere from a few days to a couple of weeks to finish a homemade recurve bow. Patience is key!
Can I customize the design of my recurve bow?
Absolutely! Crafting your own recurve bow allows for a high degree of customization. You can choose the design, draw length, and draw weight to suit your preferences and needs.
What’s the importance of checking the tiller in bow-making?
Checking the tiller is crucial for ensuring that the draw weight of your bow is even across both limbs. An imbalanced bow can affect accuracy and safety.
What kind of finish should I apply to my recurve bow?
The finish you choose is a matter of personal preference. You can use varnish, linseed oil, or other wood finishes to protect the wood and enhance its appearance.